
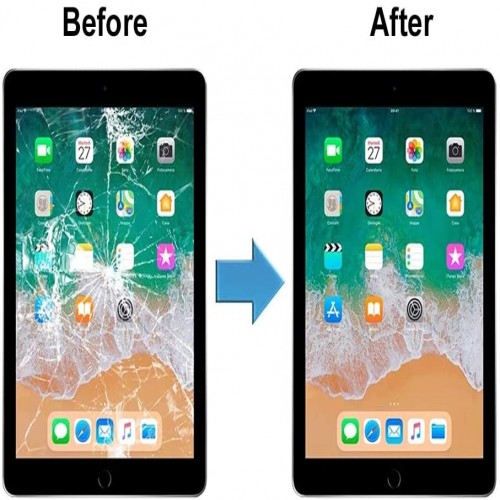
If you’re a person having issues with your mobile. You want to fix it quickly, whether it was a throw, fall, comic misfortune, or any other mishap. You’re looking for how to repair a broken phone screen at home? You wish to spend only what you can restore on your mobile’s screen.
In this article, we’ll discuss what to look for when repairing a broken screen at home.
As mobile repair specialists, we know broken phone screens can be a frustrating and inconvenient experience. There are ways to fix it without rushing to a repair shop or spending a fortune.
Table of Contents
Toggle
- A Step-by-Step Guide on How to Repair a Broken Phone Screen at Home:
- Materials You Need Before Start
- First, Understanding the Rigor of the Damage
- Prepare a Suitable Workstation
- Power Off and Disassemble Your Phone
- Install the Replacement Screen
- Reassemble Your Phone
- Troubleshooting Tips
- Final Touches
- FAQs
- Conclusion on How to Repair a Broken Phone Screen at Home:
A Step-by-Step Guide on How to Repair a Broken Phone Screen at Home:
We are sure you’re curious about how to repair a broken phone screen at home. Read this guide carefully for better repair without harming the other mobile features. So that you can repair your broken phone like a pro. Here’s a breakdown of everything you need to know before making a wise decision.
Materials You Need Before Start
To successfully repair your broken phone screen, you will need the following tools:
1. Replacement screen kit (compatible with your phone model)
2. Small screwdriver set
3. Plastic opening tool
4. Tweezers
5. Adhesive tape
6. Cleaning cloth
7. Heat source (hair dryer or heat gun)
8. Isopropyl alcohol (70% or higher)
Ensure you have all the tools available before you begin the repair process. You can purchase a replacement screen kit online or from a local electronics store.
First, Understanding the Rigor of the Damage
Before you begin the repair process, it’s essential to assess the severity of the damage to your phone screen. Cracks and shattered screens can vary in intensity. Repairs may be more complex in some cases than in others.
Here are a few factors to consider:
Size of the crack: Is it a minor hairline crack or a significant break?
The extent of touch functionality: Can you still interact with the screen despite the damage?
LCD damage: Is the screen displaying properly, or are there black spots or lines?
Based on these factors, you can determine whether you need to replace the entire screen or just the glass cover. If you need more clarification, it’s always recommended to consult a professional or reach out to the manufacturer for guidance.
Prepare a Suitable Workstation
A suitable workstation is essential to ensure a smooth and organized repair process. Ensure you have good lighting and a flat surface to work on. It’s also recommended to place a soft cloth or towel to prevent any scratches on the phone’s surface. Find a clean, well-lit area with ample space to work.
Arrange all the tools you need for easy access during the repair. A clean and organized workspace is essential to repair your phone screen comfortably.
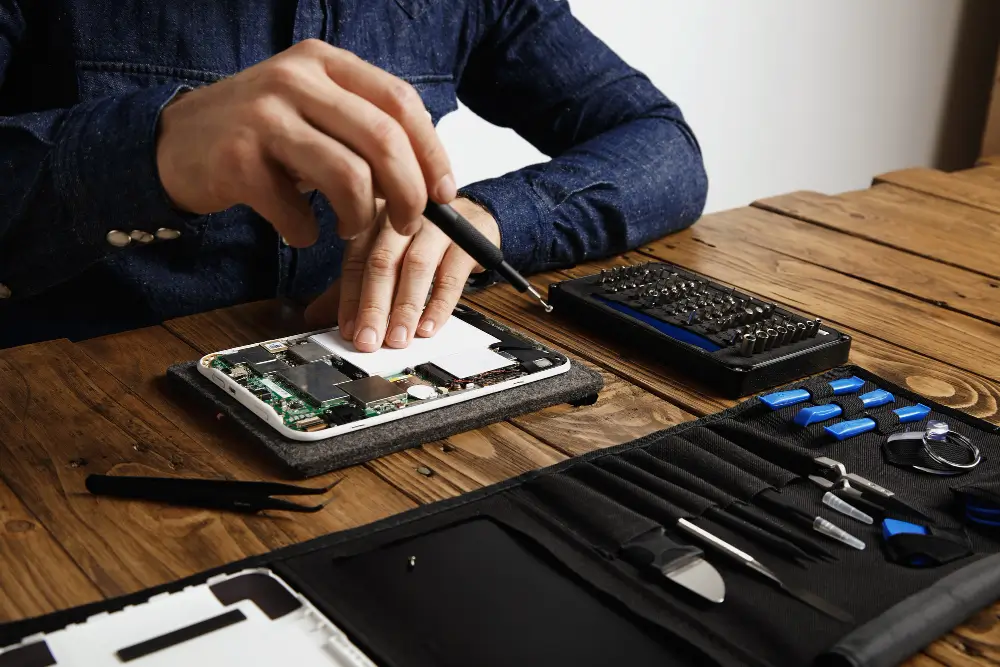
Power Off and Disassemble Your Phone
Locate the connectors that attach the broken screen to the phone’s circuit board.
Follow the steps to remove the broken screen:
Power Off the Phone
Turn off your phone to avoid any potential electrical mishaps during the repair. Press & hold down the power button until the device shuts down.
Remove the Back Cover (if applicable)
If your phone has a removable back cover, carefully detach it by following the manufacturer’s instructions or using a plastic opening tool. This step may not apply to all phone models.
Disassemble the Device
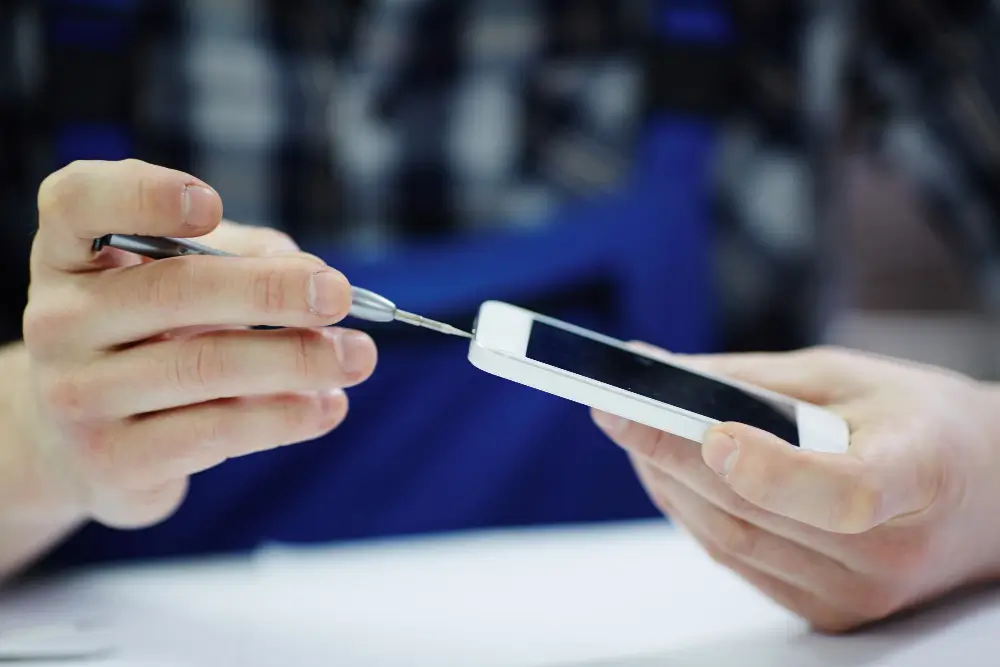
Use a small screwdriver or a plastic opening tool to remove any screws or clips securing the broken screen in place. Slowly and gently pry open the device, not damaging any internal components.
Disconnect the Cables
Once you can access the screen, locate the flex cables connecting it to the phone’s circuit board. Carefully detach these cables using tweezers or a plastic opening tool. Please take note of the cable arrangement. Make sure to reconnect them correctly later.
Remove the Broken Screen
With the cables disconnected, you can now remove the broken screen from the device. Gently lift it away, not applying excessive force or damaging the underlying components.
| Note: Cleaning the device thoroughly to ensure optimal bonding and functionality is crucial before installing a new screen. Follow these steps to clean your phone: 1. Soak a cleaning cloth with isopropyl alcohol. 2. Gently wipe the surface of the phone and remove any dirt, fingerprints, or sticky rubble. 3. Moreover, pay special attention to the areas surrounding the screen to prevent accumulating dust or debris. 4. Before proceeding, allow the device to air dry completely. |
Install the Replacement Screen
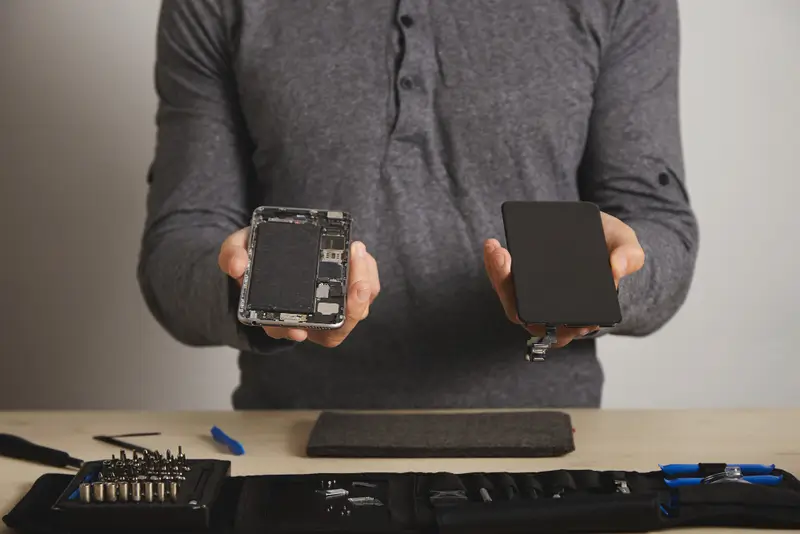
Take the replacement screen and align it with the phone’s frame.
Follow the steps to make the installation perfect:
Apply Adhesive Tape
Carefully place adhesive tape along the edges of the device, aligning it with the screen’s outline. This tape will help secure and prevent the new screen from moving or detaching.
Connect the Cables
Reconnect the flex cables to the corresponding connectors on the phone’s circuit board. Ensure a secure connection by applying gentle pressure and ensuring the cables are properly seated.
Position the New Screen
Align the new screen with the device’s frame, making sure it fits perfectly. Slowly and carefully lower the screen onto the adhesive tape, ensuring it adheres to the device uniformly.
Apply Pressure
Apply even pressure to the screen, starting from the center and moving outward. This step helps in achieving proper sticking between the screen and the device.
Testing the Screen
After installing the new screen, testing its functionality before proceeding is essential. Power on the phone and perform basic tasks. Swipe, tap, and access different applications. You can proceed with the reassembly if the screen responds accurately and displays correctly.
If there’s any problem, verify the cable connections and the screen setup.
Reassemble Your Phone
Carefully place the back cover onto the phone and secure it with the screws. Make sure not to over-tighten the screws, as it may cause damage. Power your phone to test the new screen once the back cover is securely in place. Verify that the touch functionality and display are working correctly.
Follow the steps for clarification:
Secure the Screws
If you remove any screws during disassembly, reinsert them into their respective positions. Use a screwdriver to tighten them securely. But be careful not to over-tighten.
Attach the Back Cover (if applicable)
If your phone has a removable back cover, carefully place it back onto the device, aligning it properly. Apply gentle pressure to ensure it snaps into place securely.
Troubleshooting Tips
1. If the screen doesn’t respond or displays monsters after installation, disconnect and reconnect the cables to ensure a secure connection.
2. Double-check the alignment of the screen and make sure it is properly seated on the tacky tape.
3. If the touch sensitivity is compromised, try calibrating the screen or adjusting the touch settings in the phone’s software.
Final Touches
Inspect the screen for any dust, fingerprints, or smudges. Gently clean it using a cleaning cloth to ensure a crystal-clear display. If required, apply adhesive tape around the edge of the screen to prevent dust from entering it.
FAQs
Can I repair a broken phone screen without any prior experience?
Repairing a broken phone screen requires the right tools and following instructions. Take time, follow the steps carefully, and refer to online tutorials or guides if needed.
How much does repairing a broken phone screen cost at home?
The cost of repairing a broken phone screen at home depends on the price of the replacement screen kit and any tools you may need to purchase. Generally, it is more cost-effective compared to professional repair services.
Are all phone screens replaceable at home?
Most phone screens can be replaced at home. But it is essential to ensure that you have the correct replacement screen kit for your specific phone model. Some phone models may have more complex repair processes or require specialized tools.
Will repairing my phone screen at home void the warranty?
Repairing your phone screen at home may void the manufacturer’s or service provider’s warranty. It is recommended to check the warranty terms and conditions before attempting any repairs.
Is it possible to fix a broken screen without replacing it?
Exciting! You can fix your device by repairing the LCD without replacing it.
Can I use regular glass instead of a replacement screen?
No, using regular glass is not recommended. Phone screens are composed of specialized materials that provide touch sensitivity and compatibility with the phone’s hardware. It’s crucial to use a proper replacement screen to ensure optimal performance.
Conclusion on How to Repair a Broken Phone Screen at Home:
Repairing a broken phone screen at Home is achievable with the right tools and careful execution. Follow the steps outlined in this guide to save time and money while restoring your phone’s functionality.
Remember to work in a well-lit environment, handle the delicate components carefully, and take your time to ensure a successful repair. With patience and attention to detail, your phone will look as good as new in no time!
However, it’s always wise to seek professional assistance if you need help or encounter any difficulties. Go to your local repair center. Check out London’s leading tech repair center for professional repair seeking.
| Taking preventive measures: To minimize the risk of future screen damage, consider the following preventive measures: 1. Protect your phone with a protective case and tempered glass screen protector. 2. Avoid placing your phone in your back pocket or in locations where it may be easily dropped. 3. Be cautious when handling your phone near water, as moisture damage can also affect the screen. |
We hope you find this article on How to repair a broken phone screen at home helpful. Share it with others to sort out this riddle that’s bothering him.